
Using a free account with Zapier, you can integrate SalesNexus with thousands of apps that you use every day.
Today we’ll be showing you how easy it is to integrate with FullContact, a business card management Management App that allows you to take a picture of a business card and have it automatically be uploaded as a new contact into your SalesNexus CRM.
Imagine you, at an expo or trade show event, dazzling your new contacts when you whip out your phone to screenshot their business card and say “Once I get home, my CRM will automatically alert me to follow up with you.” How cool is that?
FullContact use does requires a paid subscription to Contacts+, however, for a limited time, contact sales@sn9.fifoma.com when you set your zap up, and we’ll give you a credit to your Salesnexus account to help out (limited time promotion).
How to Integrate FullContact (Contacts+) and SalesNexus CRM
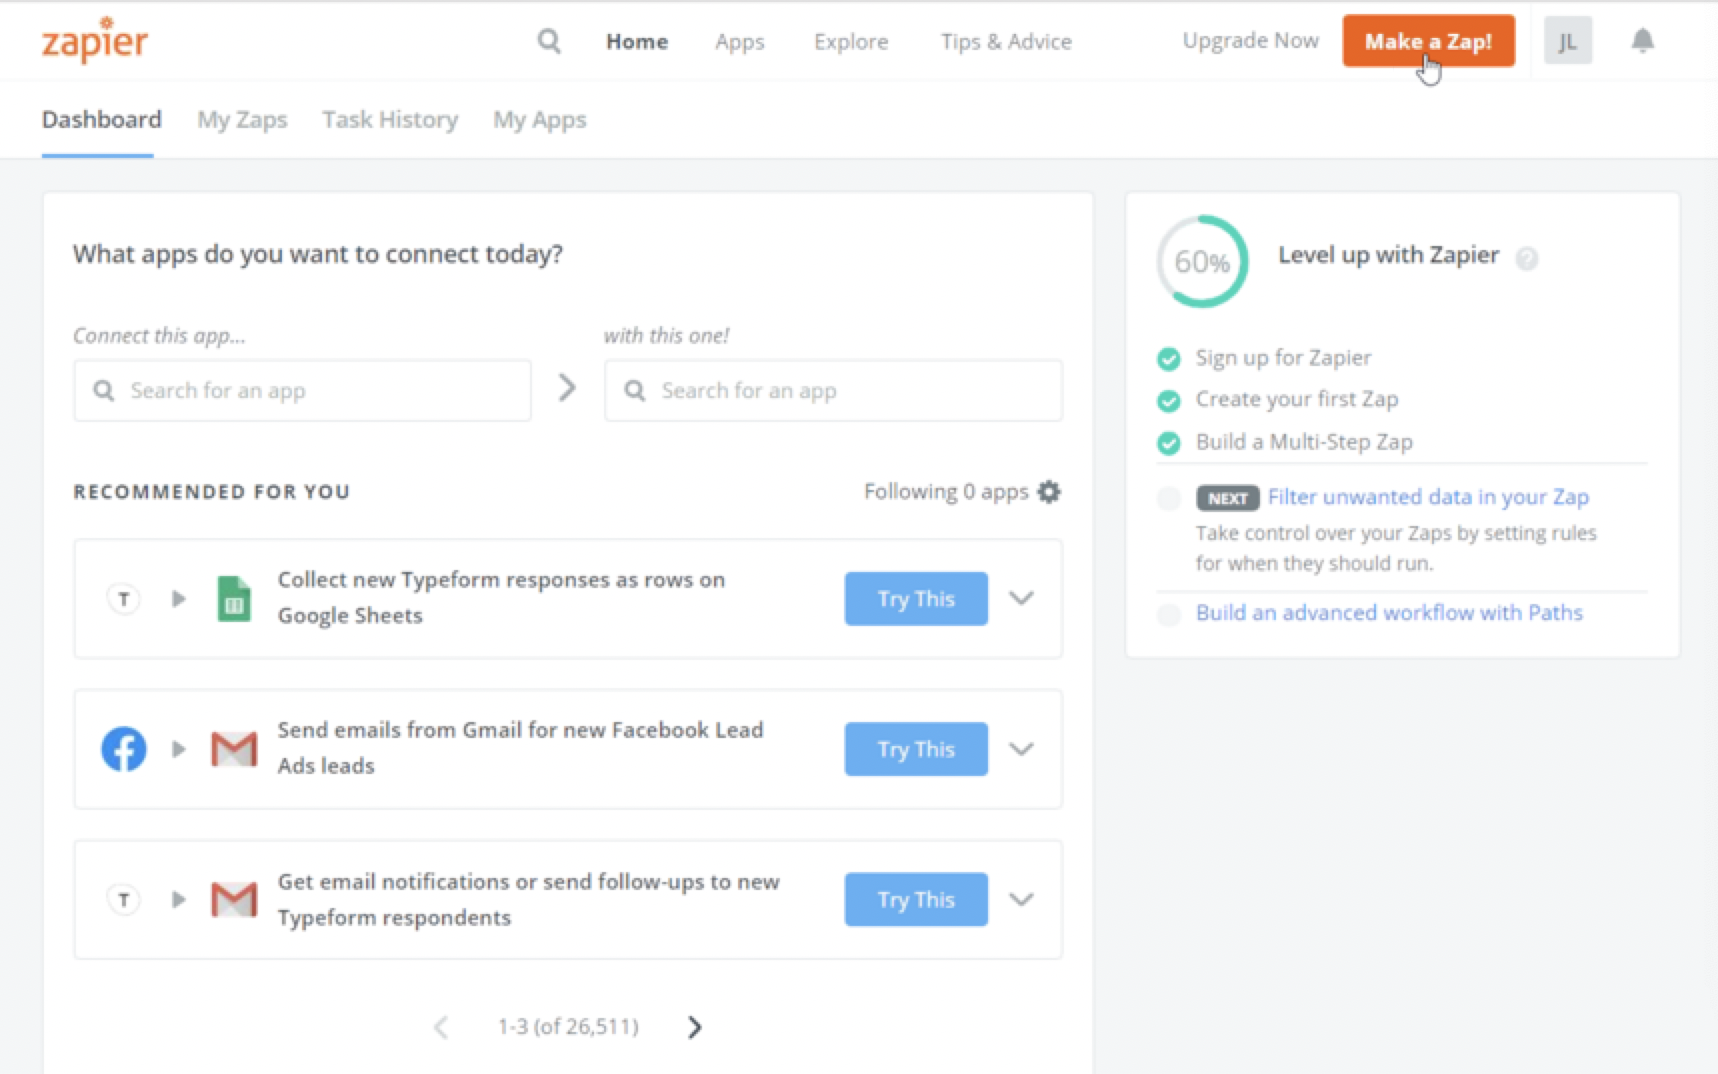
First, you’ll need to create an account or login to your existing account in Zapier.

Once done, Click “Make a Zap” in the upper right hand corner.
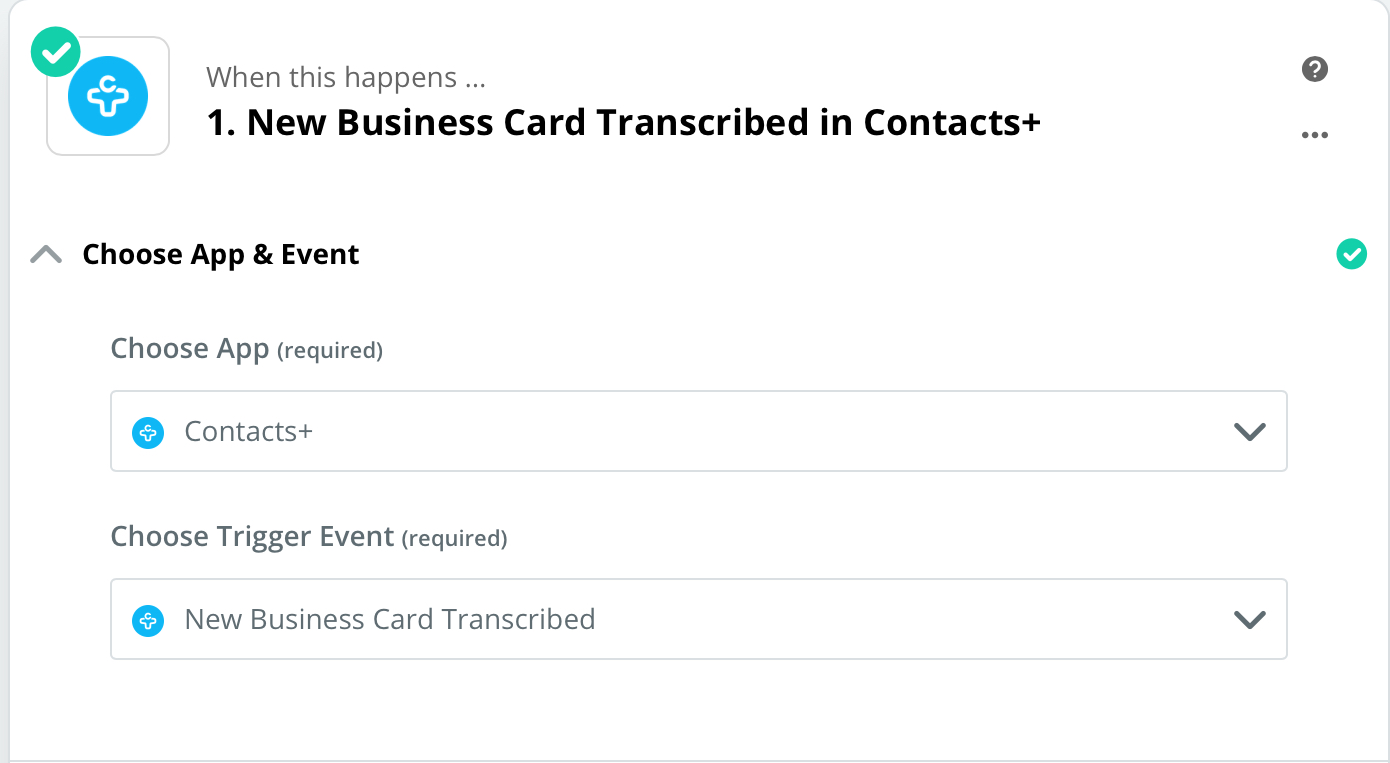
Choose the FullContact App and Trigger Event ” New Business Card Transcribed in Contacts+ “
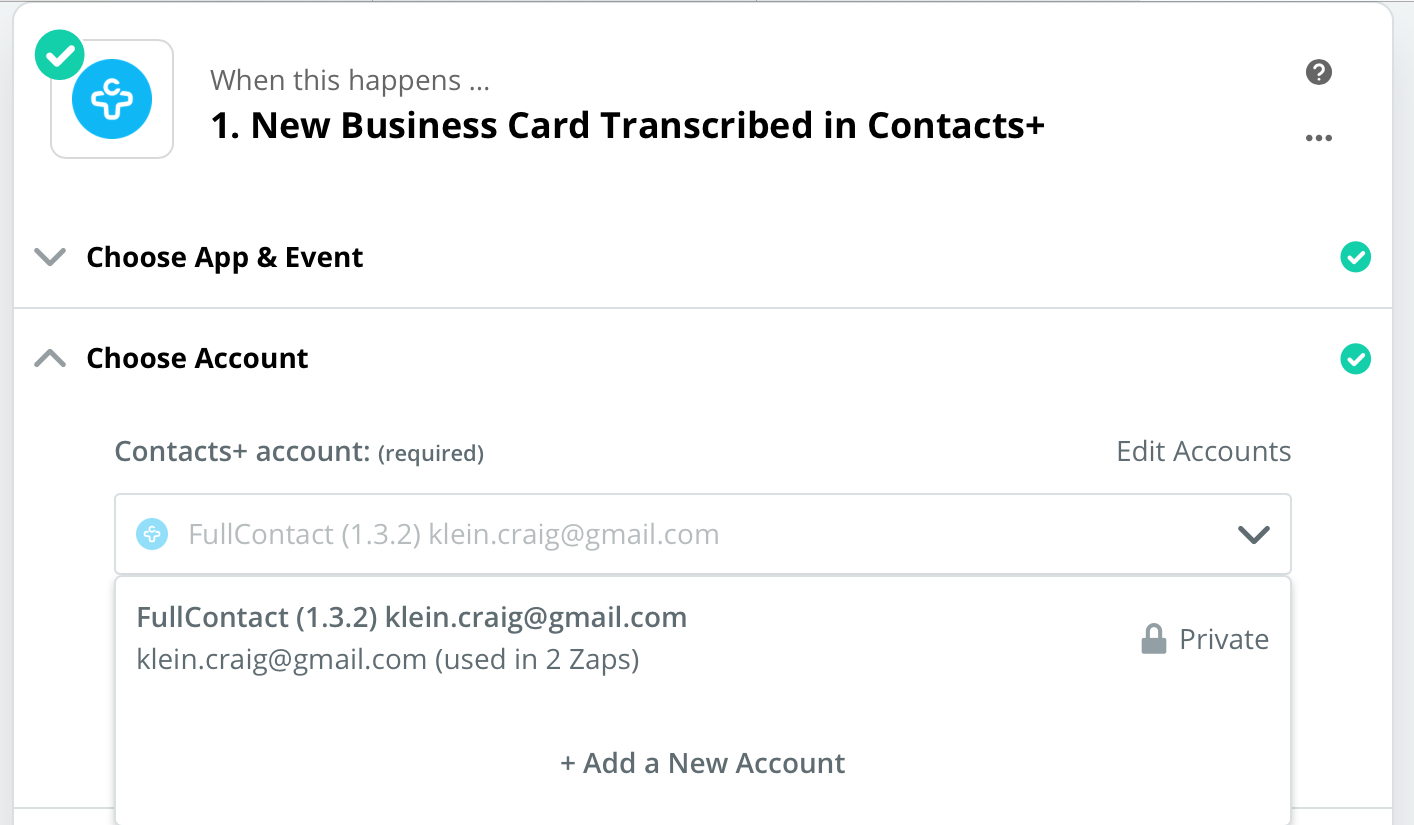
Choose your FullContact account or “Add a New Account”
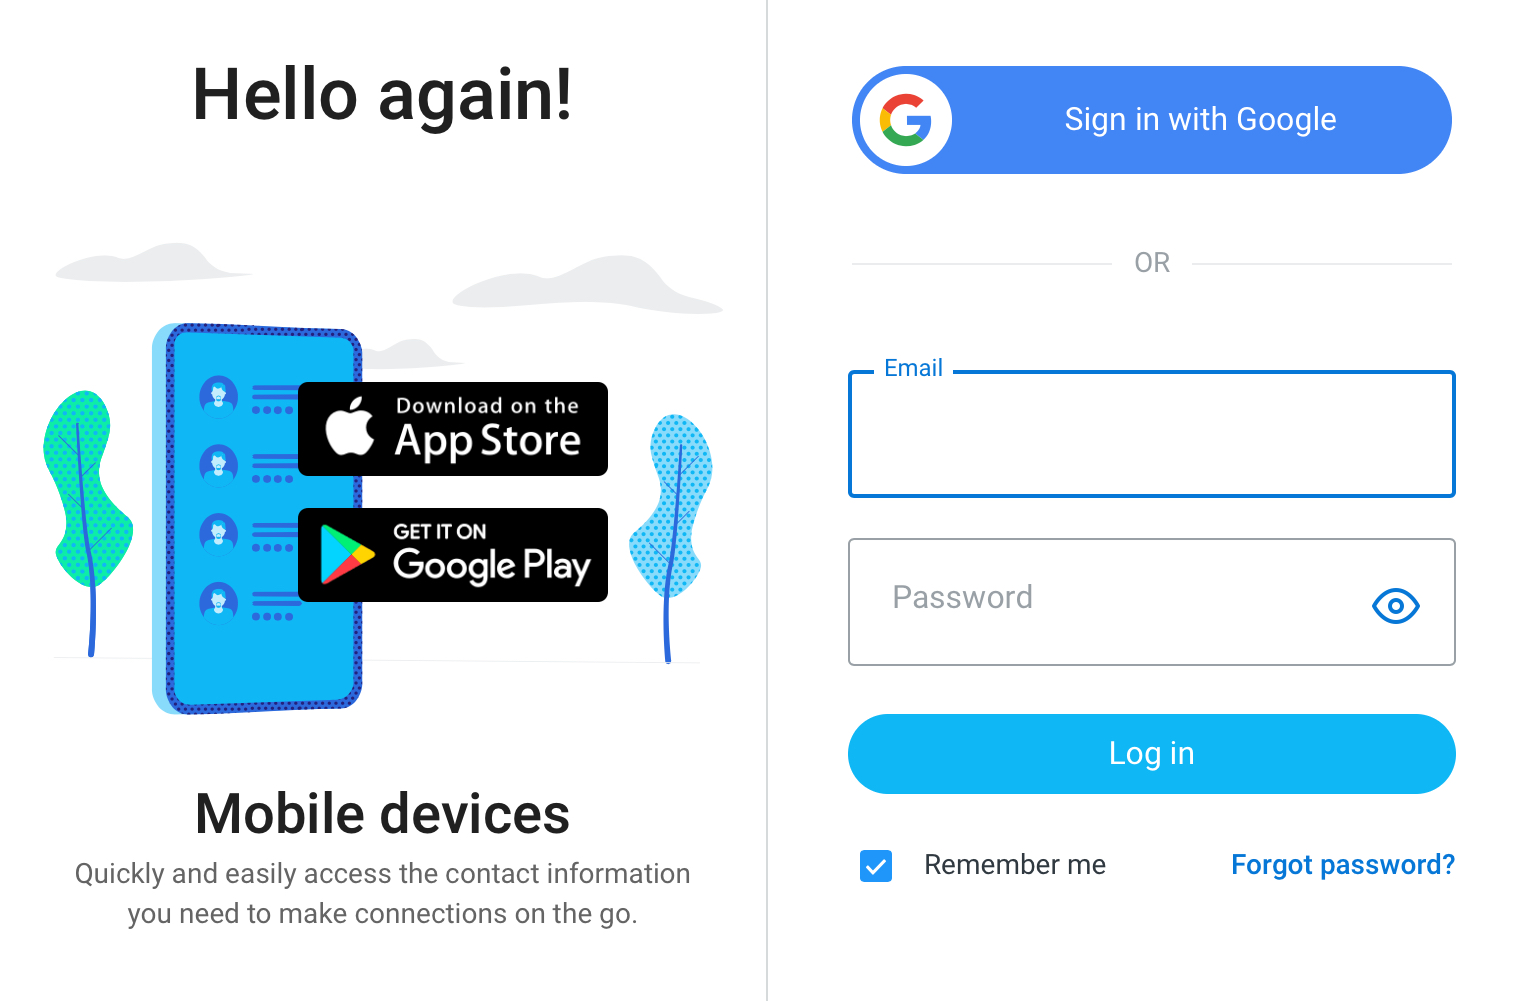
Enter Your Login Credentials for FullContact and click “Sign in”
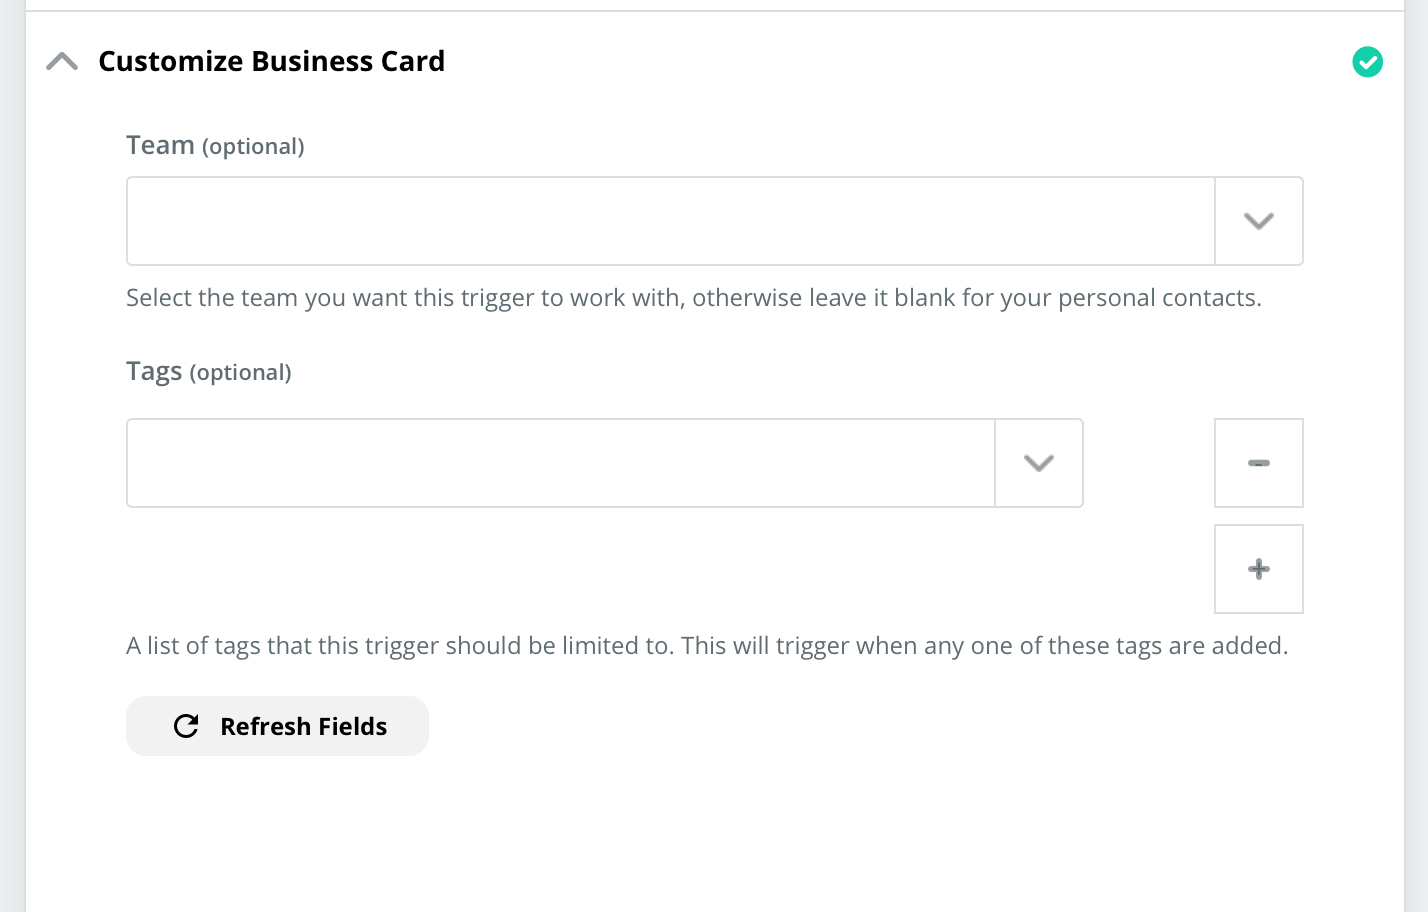
Confirm that you want to allow Zapier to connect your FullContact account by clicking ” Yes, Continue” . You’ll have the option to add Teams or Tags. You can leave this blank and move on.
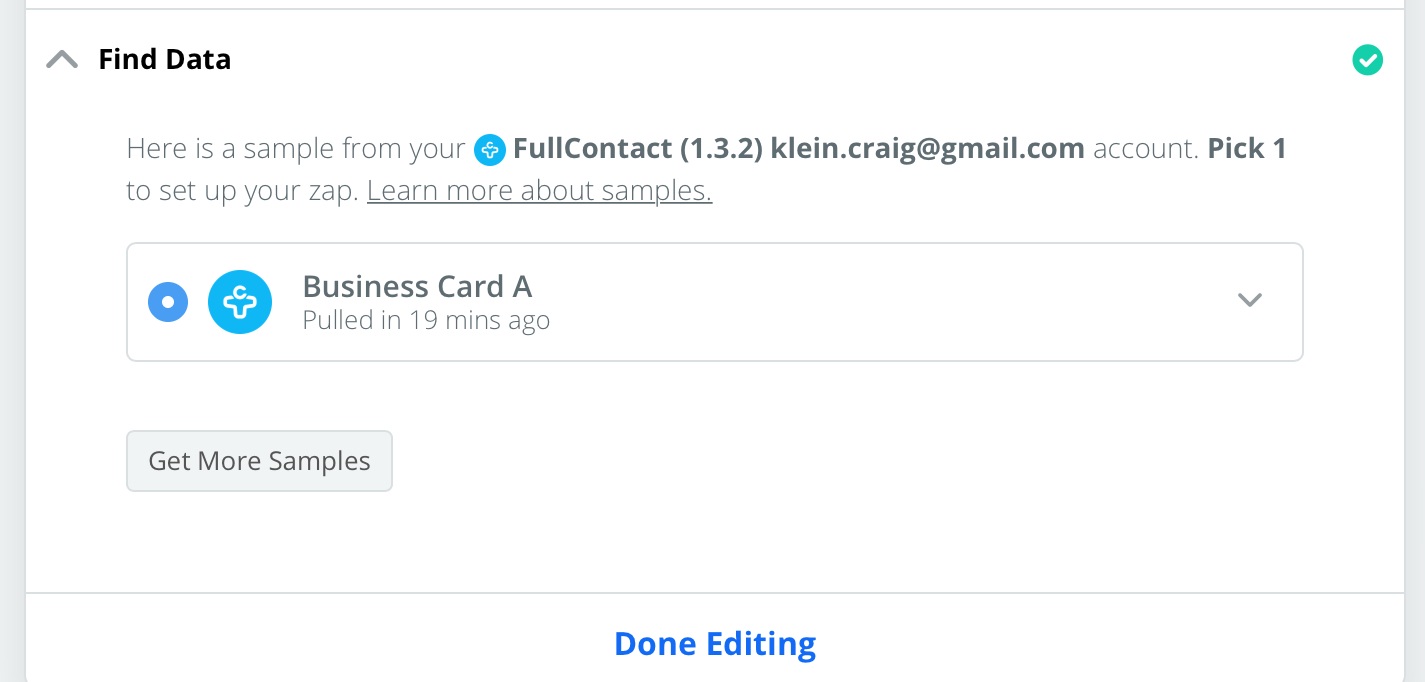
Once your FullContact account is synced, you will have the option to test, by automatically pulling in any business cards you’ve already uploaded through the Contacts + app. For now, you can click “Skip Test” to move to the next step and do this part later.
Now you want to set up what happens in SalesNexus once you snap a photo of any business card in the Contacts+ App.
Click the Blue + sign at the bottom to start the next step!
- Under “Choose App & Event” search for SalesNexus.
- Then under “Choose Action Event” choose “Create Contact”
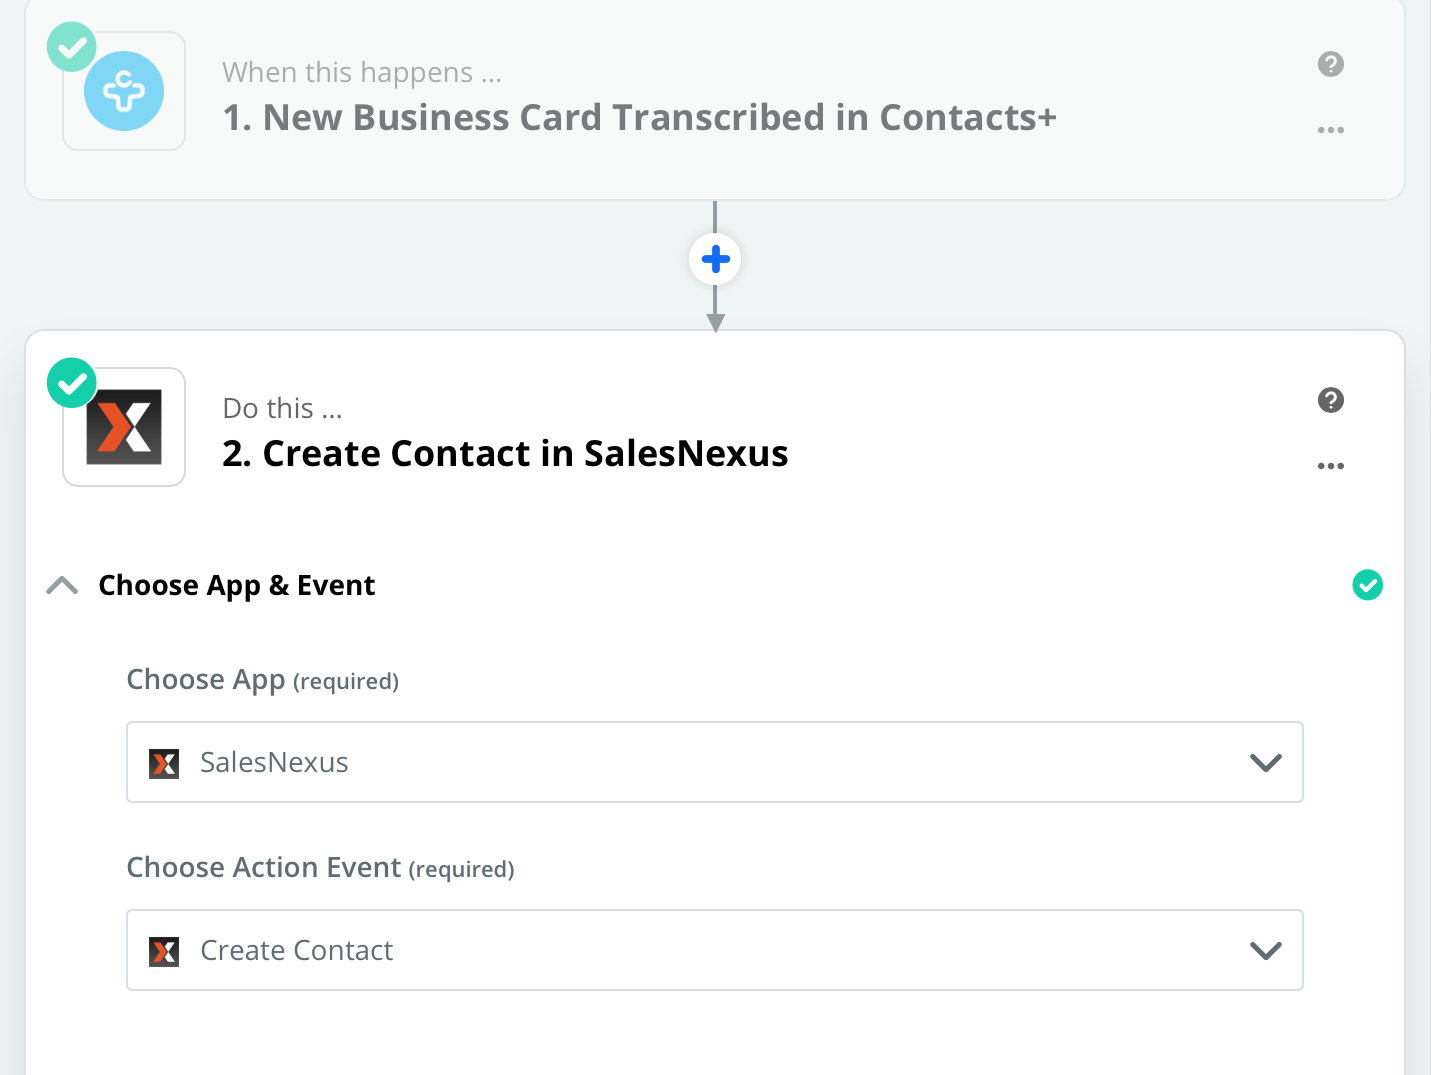
Next, you’re on to Step 2!
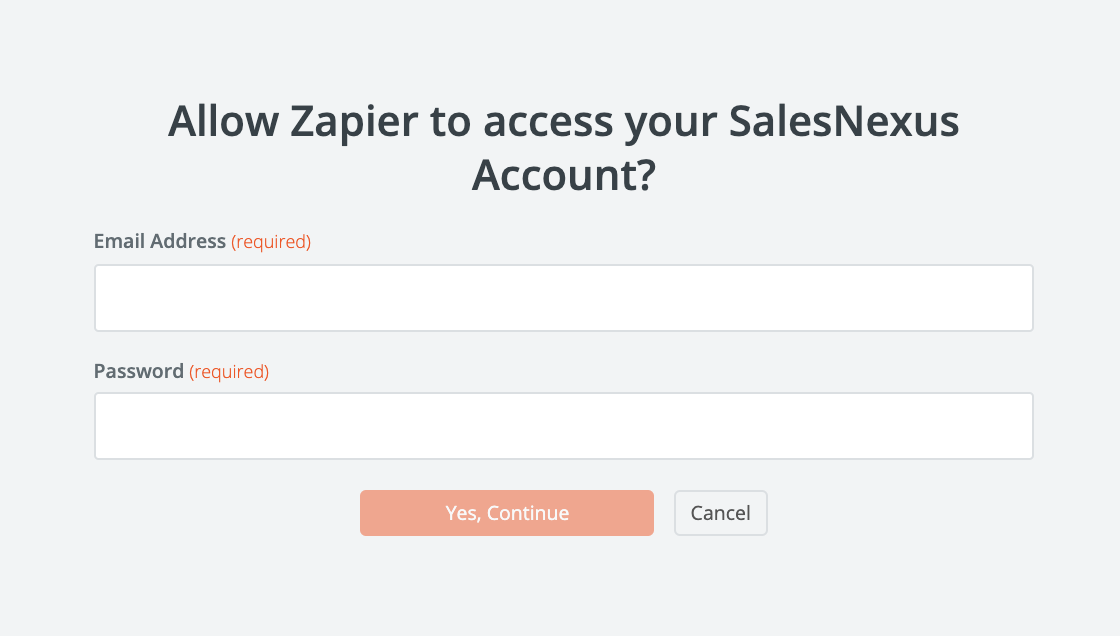
Choose your SalesNexus account by clicking “Add a New Account” Or searching for your SalesNexus account.
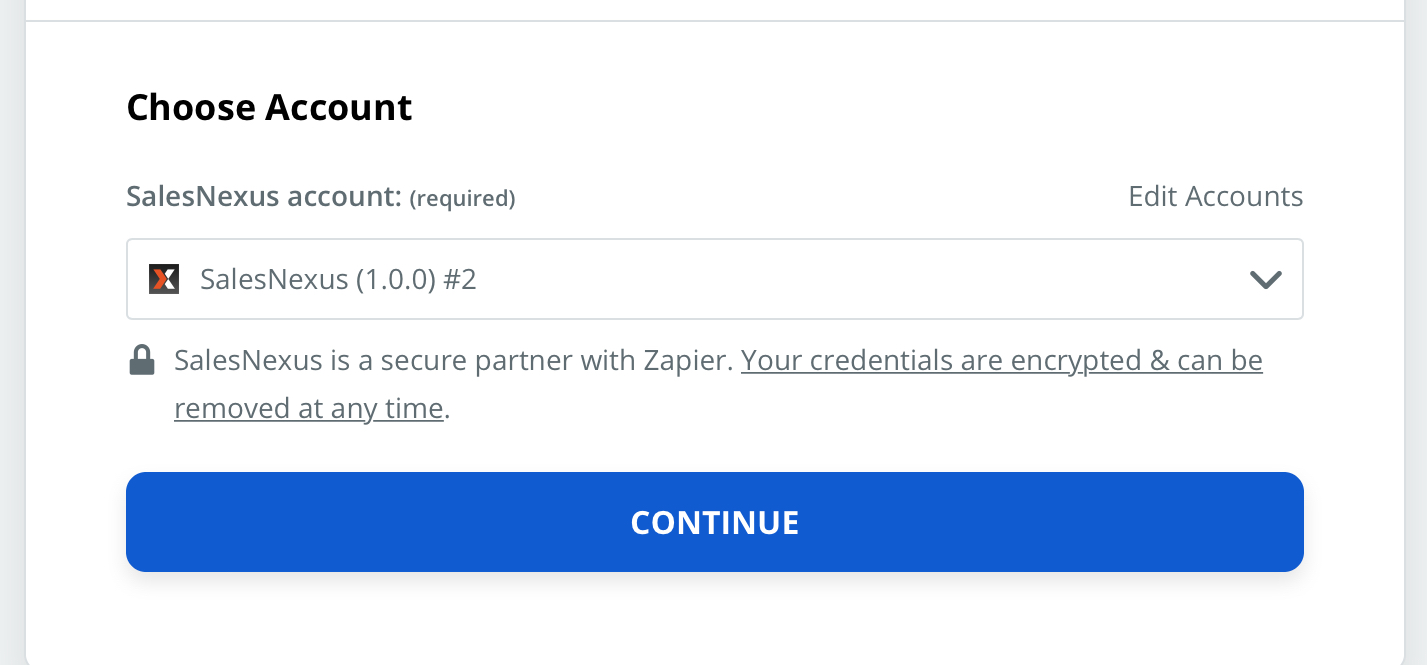
Enter in your SalesNexus login credentials, and submit the information by selecting “Yes, Continue”.
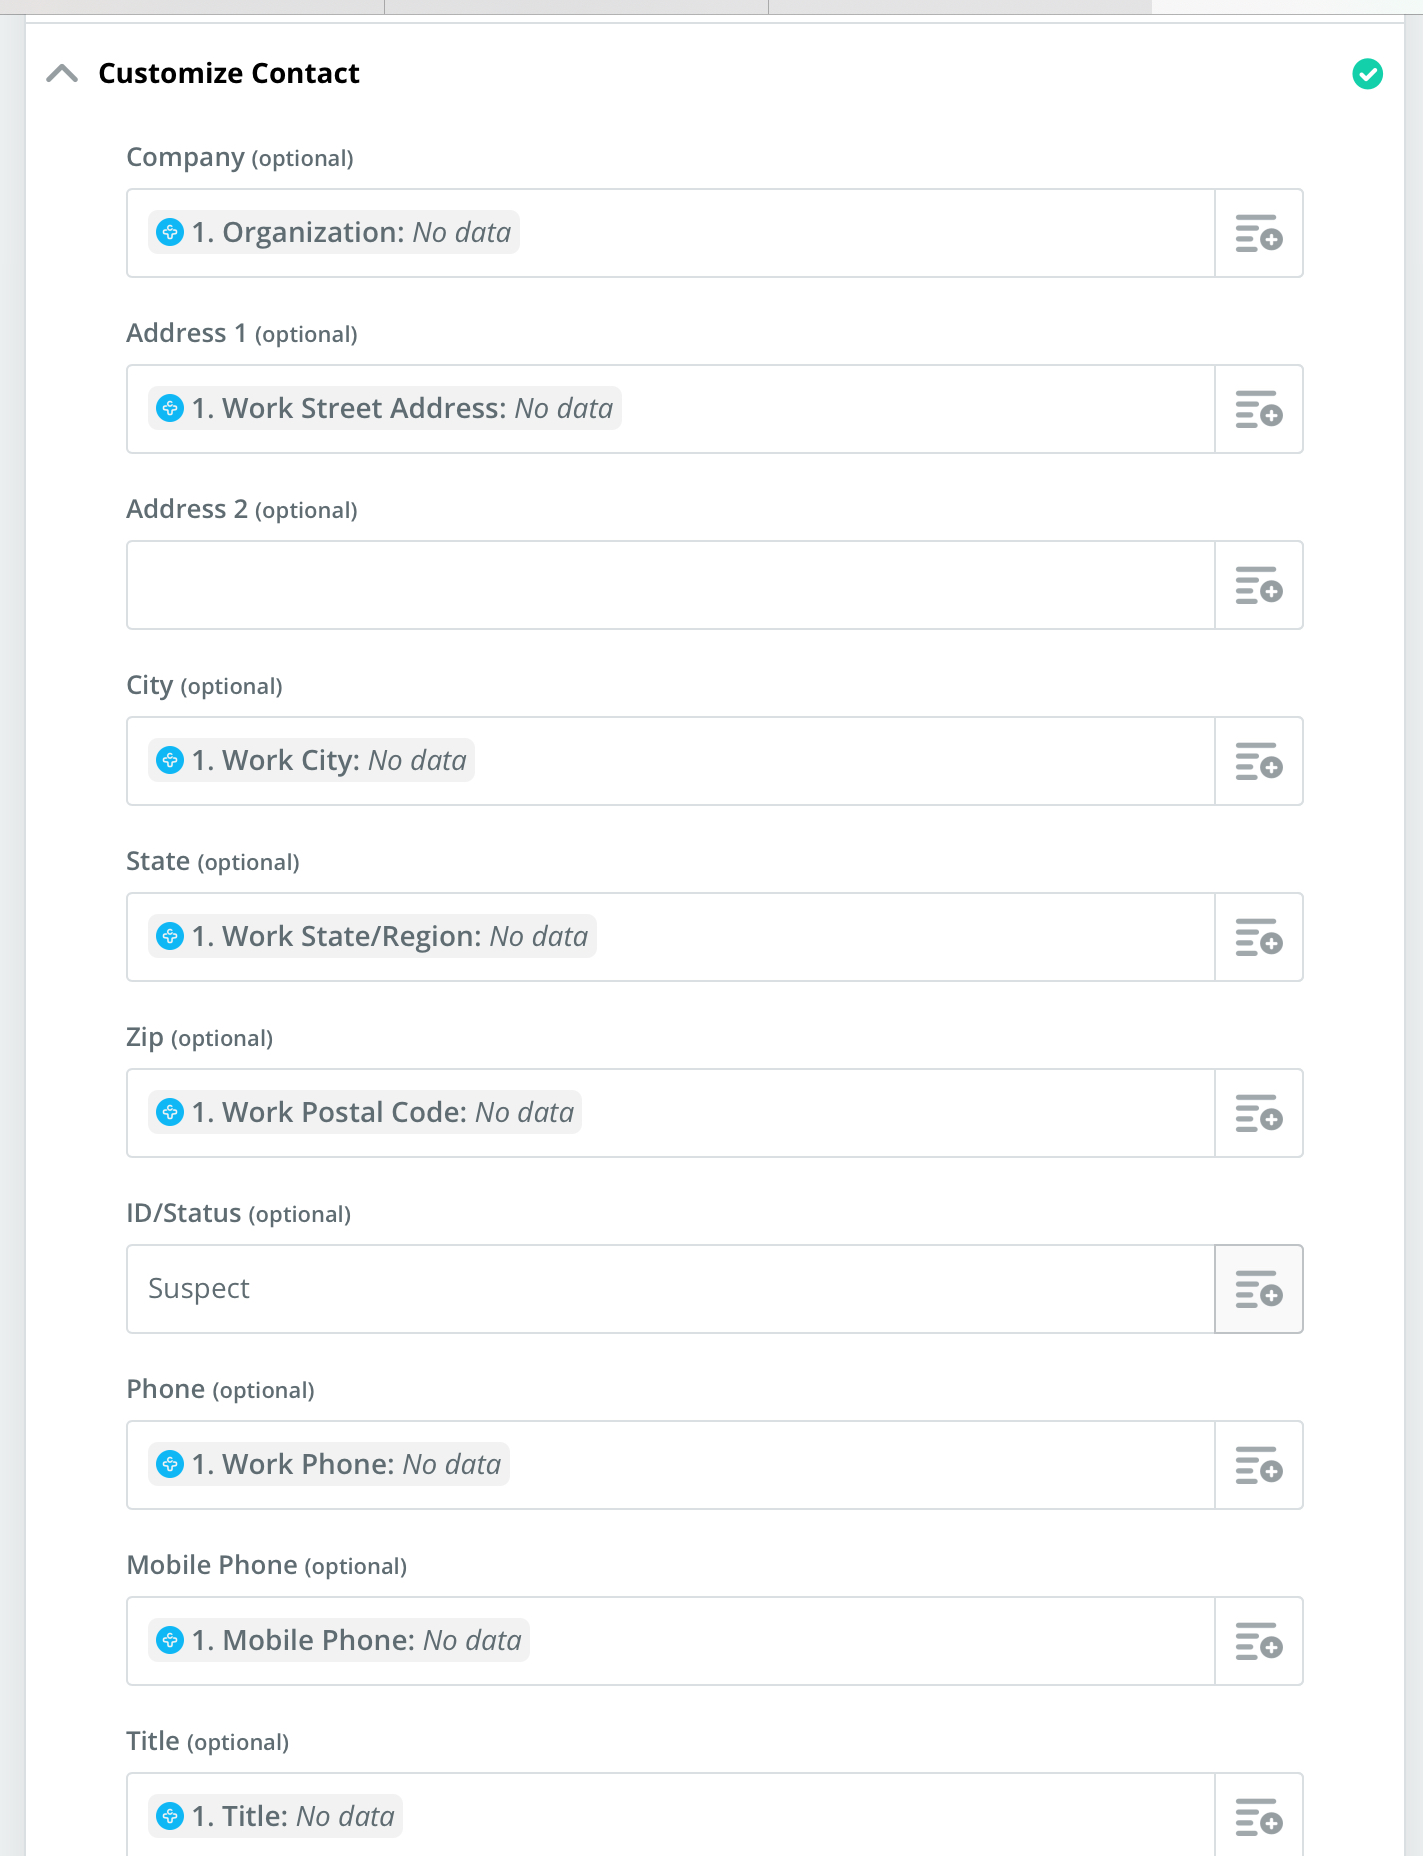
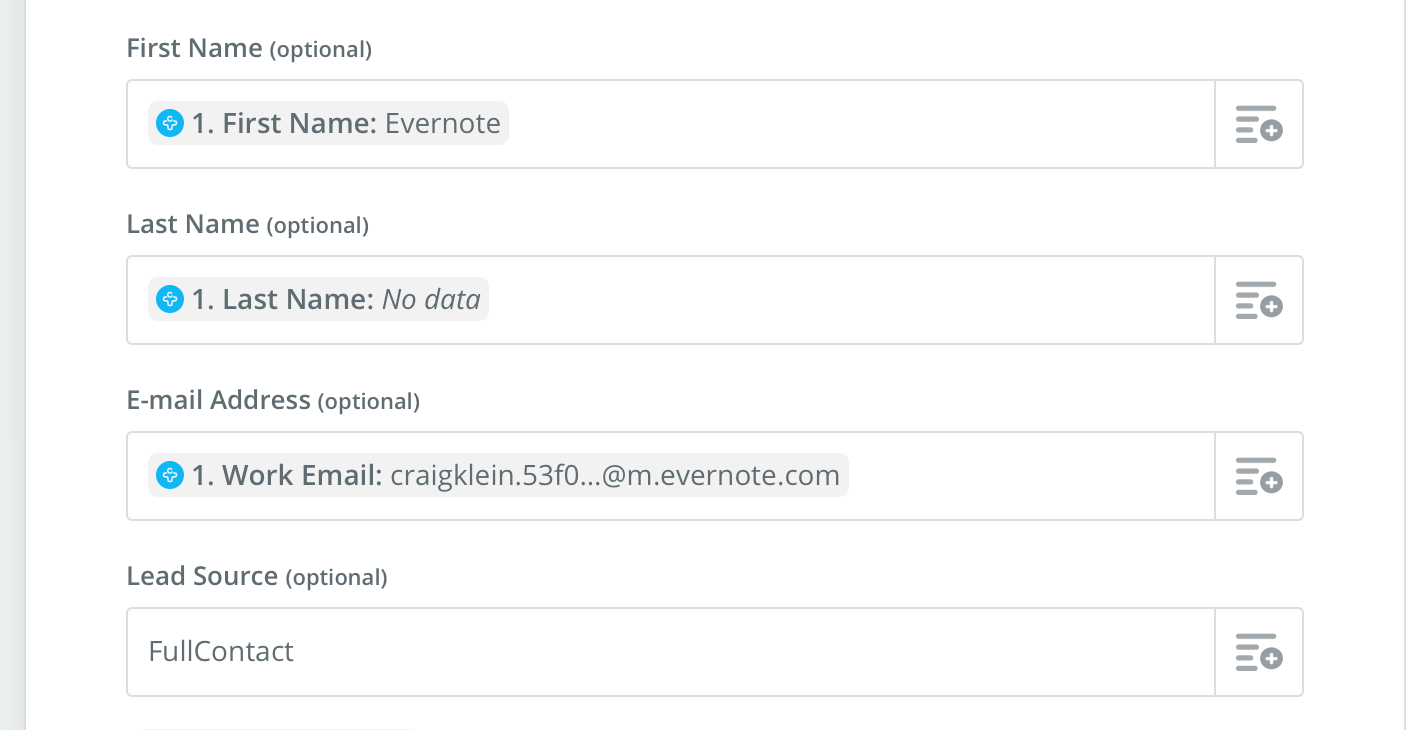
Now it’s time to customize how the Contact will appear in SalesNexus!
Under “Customize Contact”, fill in the fields below as shown in the example images.
Almost done! Once you’ve clicked continue, Zapier will ask to “Find Data” and bring in a sample contact from the Contacts+ App to send to SalesNexus to Test your Zap.

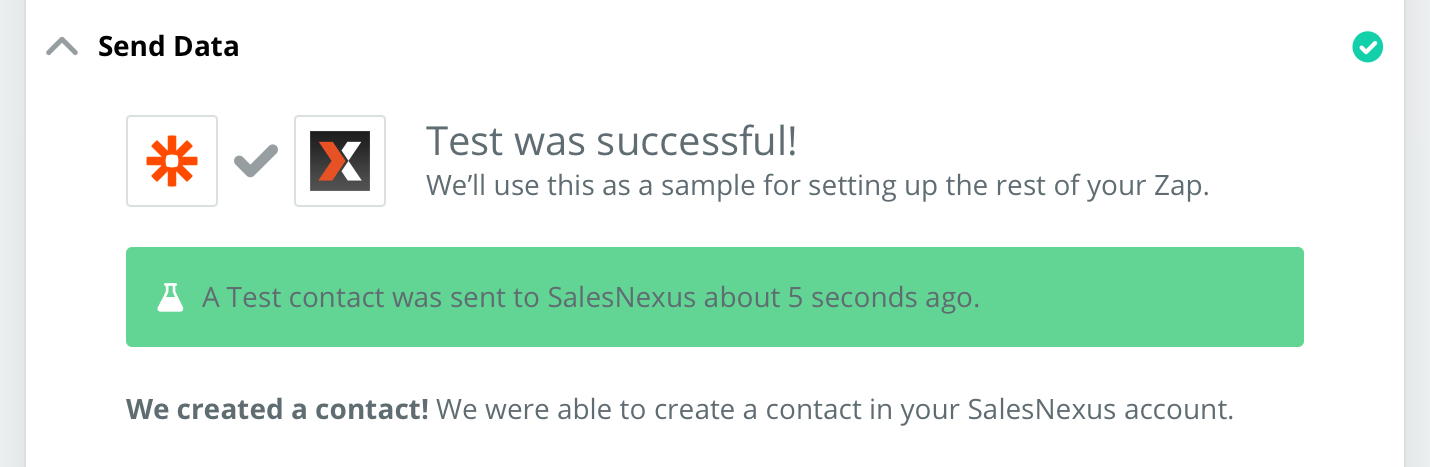
To test your new Zap setup by sending a Test Contact to SalesNexus, click “Test and Continue” to move on.
Now, if you are on a paid zapier plan, you can add one final step. (Free plans don’t get more than one step). Skip this step if you don’t want to upgrade or aren’t on a paid plan.
This next part will create a task in SalesNexus for you alerting you every time a Contact is added from the app into SalesNexus so that you can remember to follow up after an event.
Your’re going to click the blue + sign one more time, choose SalesNexus as your app, and “create activity” as your action event.
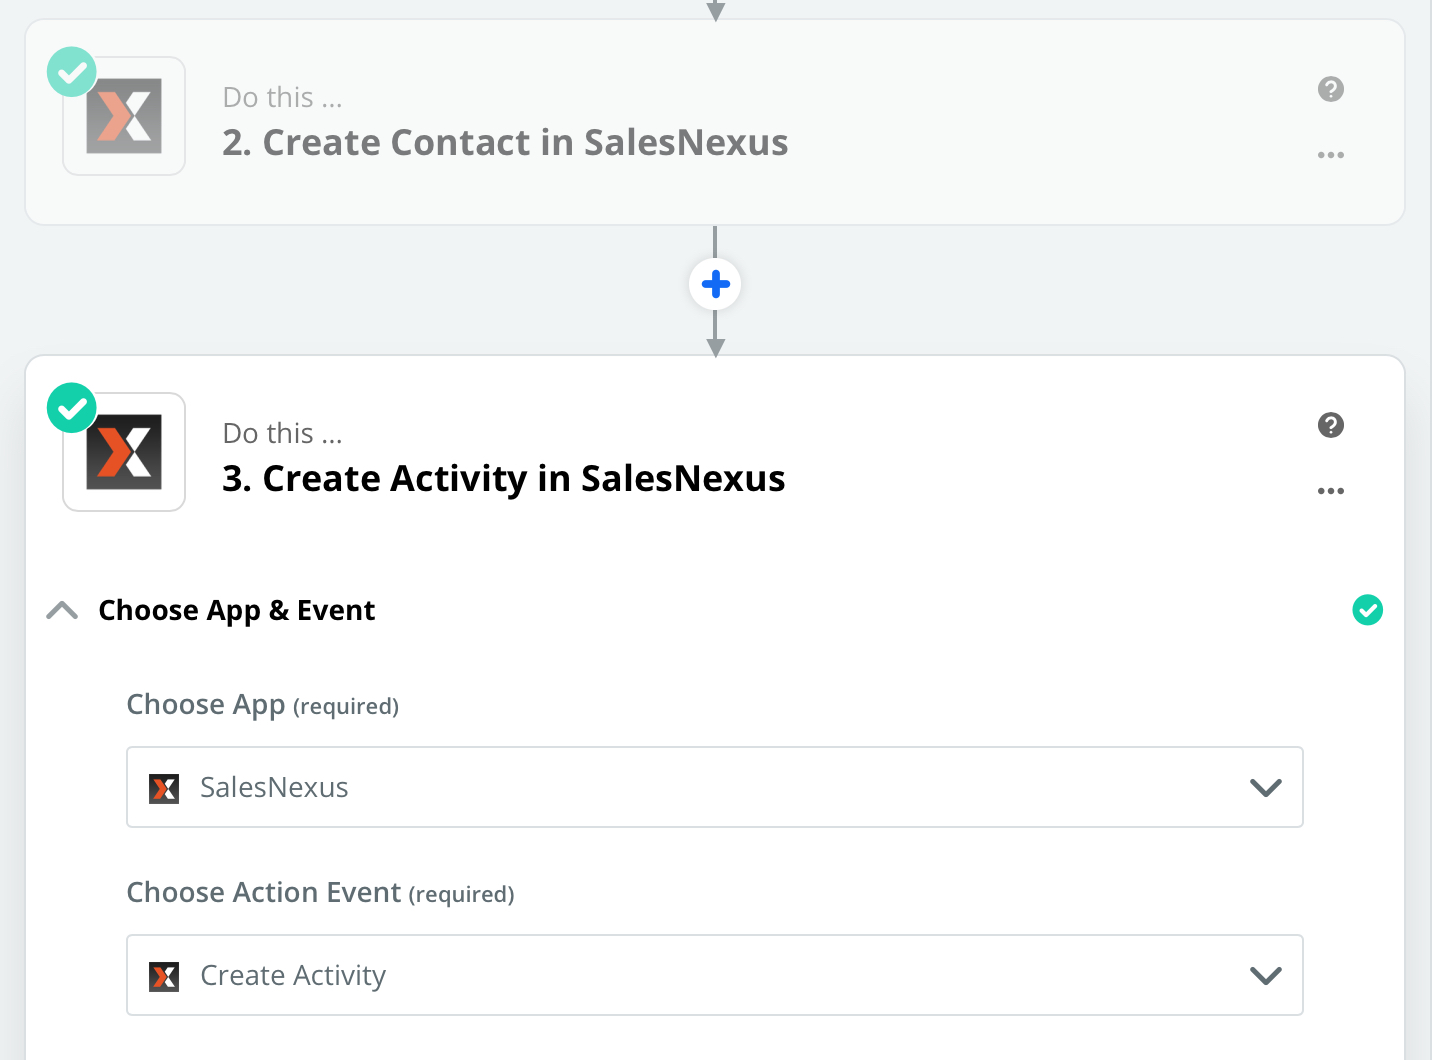
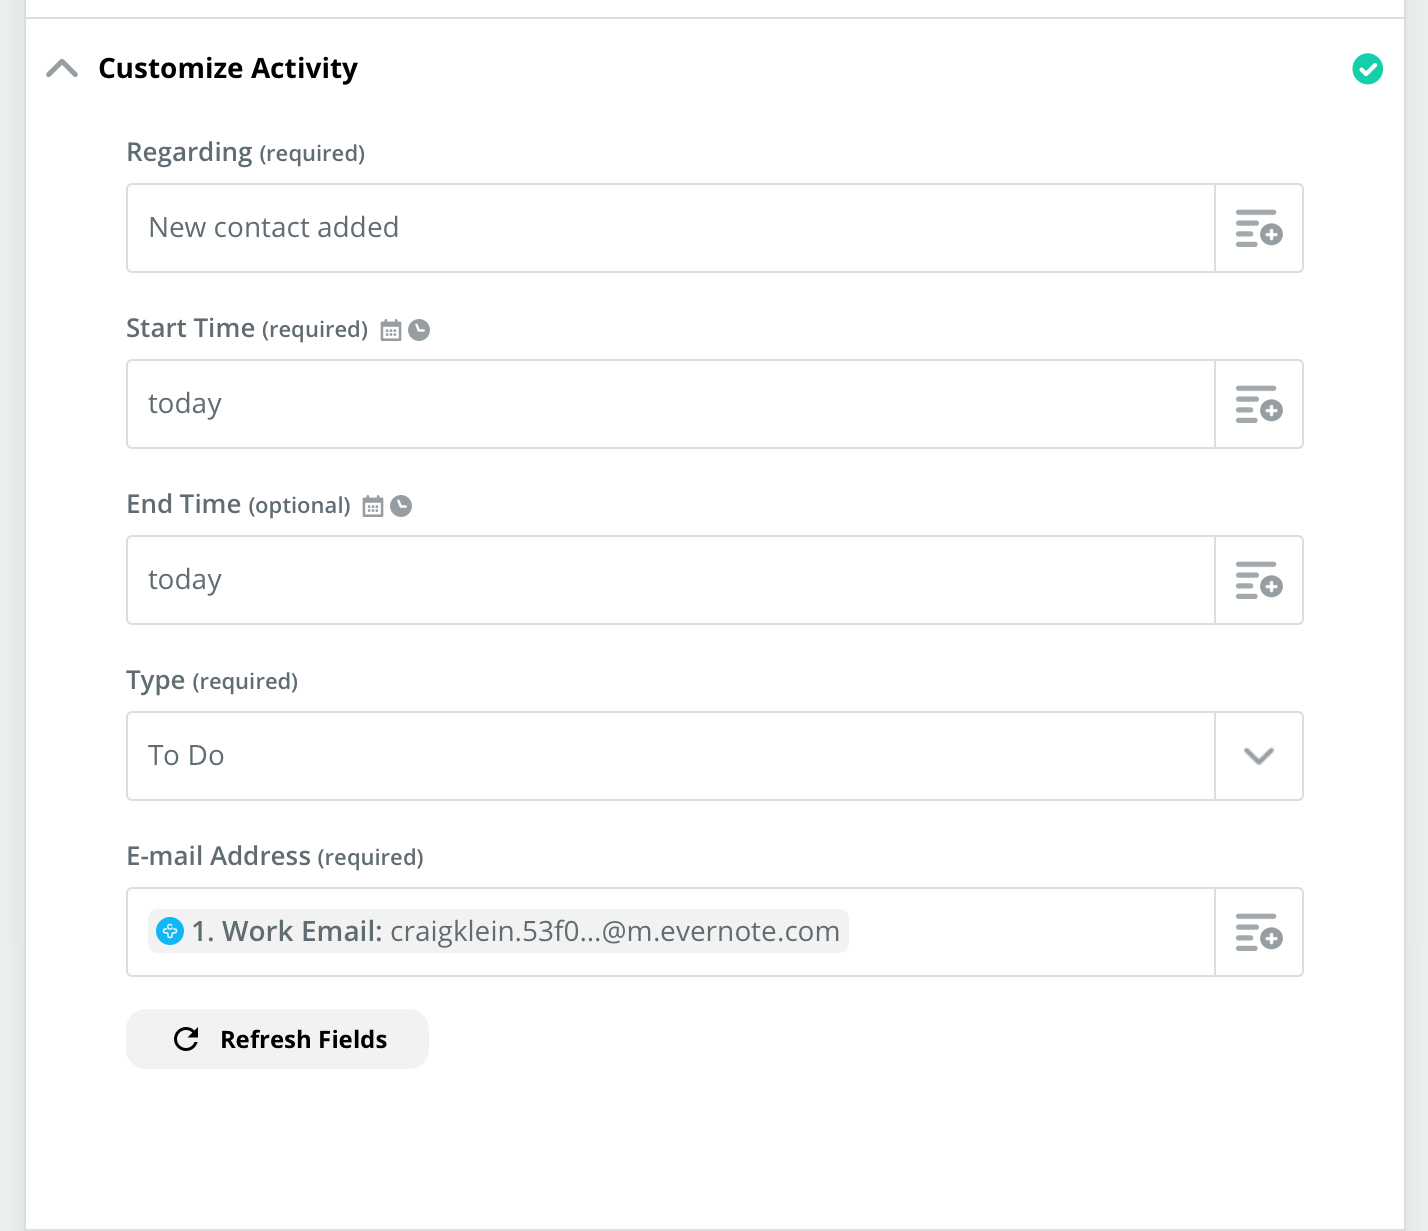
Then you’ll fill in your SalesNexus account info again, as you’ve done previously. Now, under “Customize Activity” fill in the below information exactly, and under email address search for “work email”.
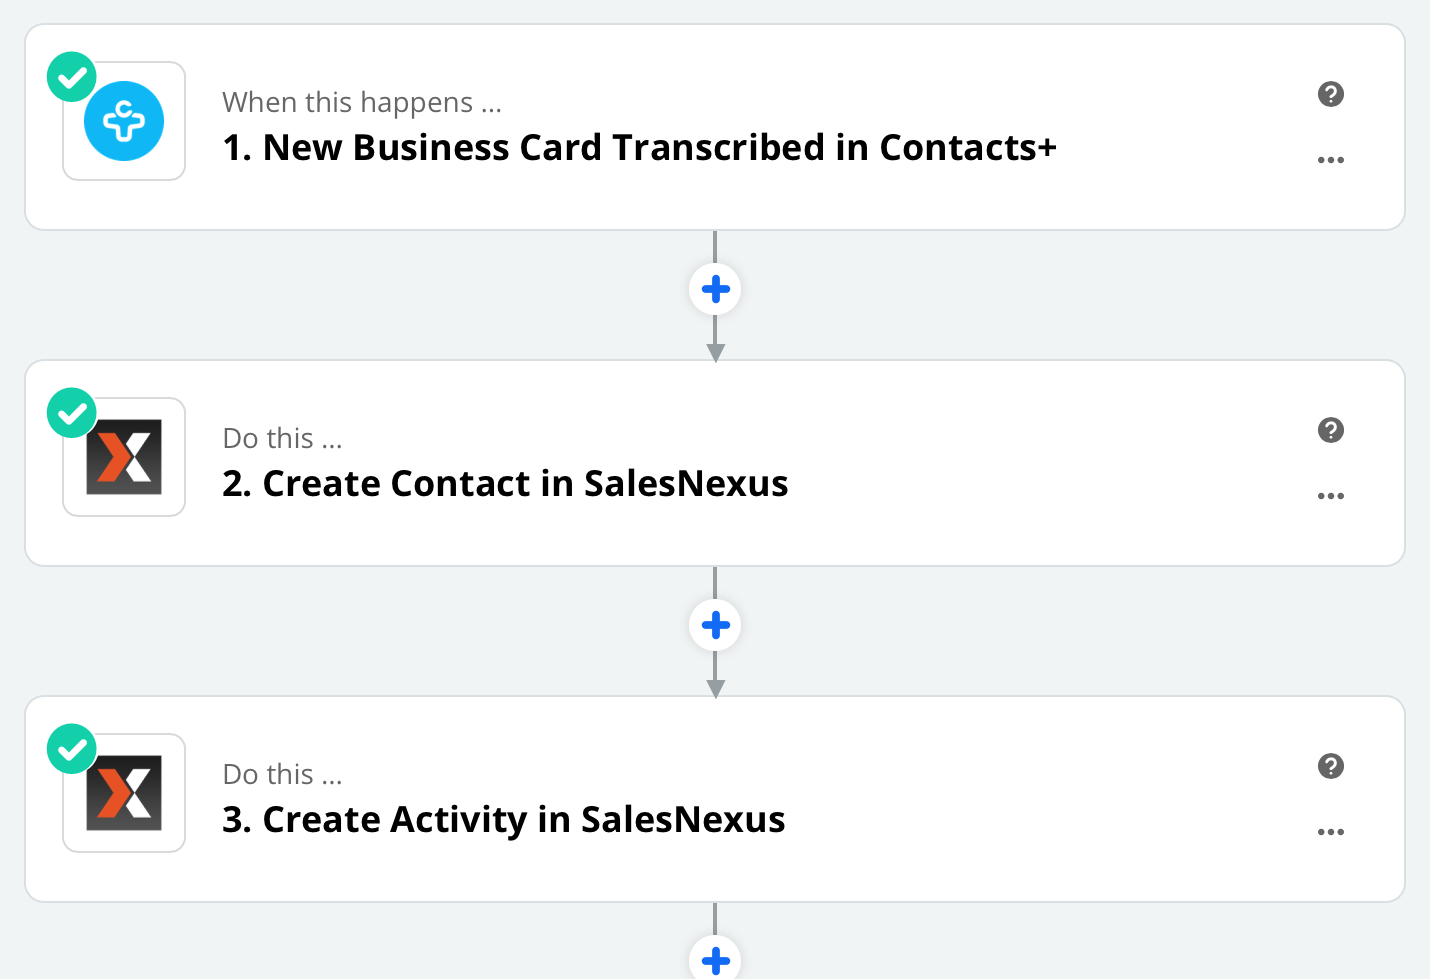
And done! This is how your finished zap will look.
Final Step
Make sure your zap is turned on by going to “My Zaps” in Zapier and ensuring your zaps toggled “on”.

You’re done! Congrats!
Snap a photo of a business card with the Contacts+ app, wait for them to transcribe the contact info, once it’s been transcribed, it will automatically add the contact to your SalesNexus account.
Plus, if you added the last step, it will add a task for you to follow up with that contact to your SalesNexus task list.
Login to your SalesNexus and check under Menu> Contacts > View Contacts to find your contact.