Want to add new fields to SalesNexus for the Sales Opportunity Page?
First, you’ll add the fields to SalesNexus, as shown in Step 1, and then you’ll add them to your Sales Opportunity Layout as shown in Step 2. Read on for details.
Step 1
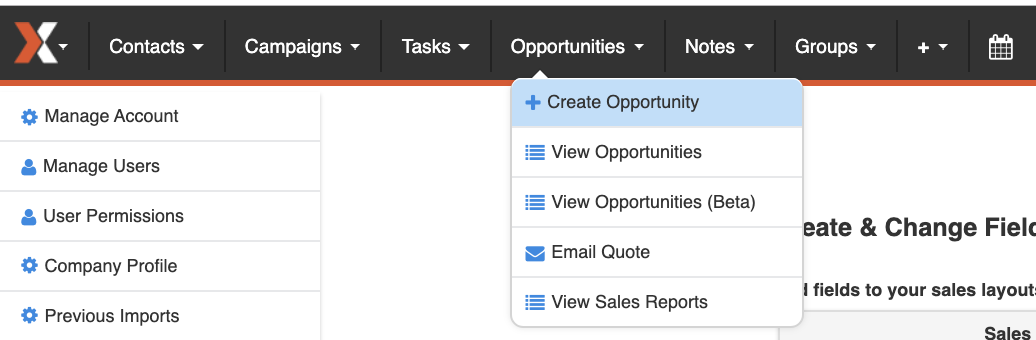
- Go to the “X” menu > System Settings > Create and change Fields.
- Choose the area you want to add the field to (To Update Your Sales Opportunity Tab, click Sales)
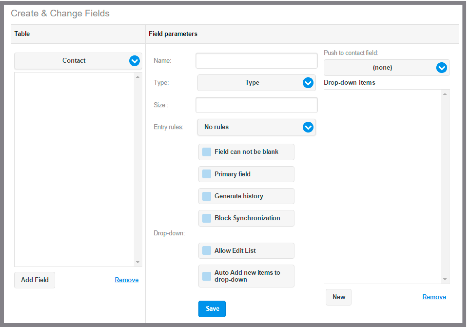
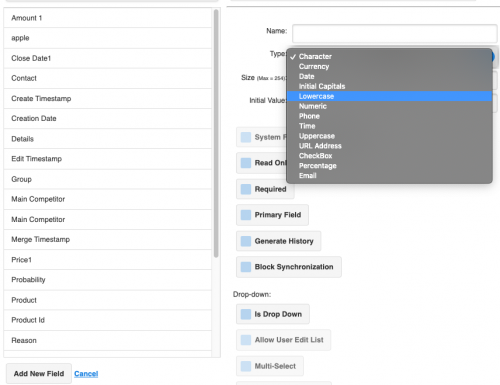
- Click “Add New Field”
- Fill in the information for your new Field
- Choose the Type of Data stored in the Field, i.e. character, currency, date, etc
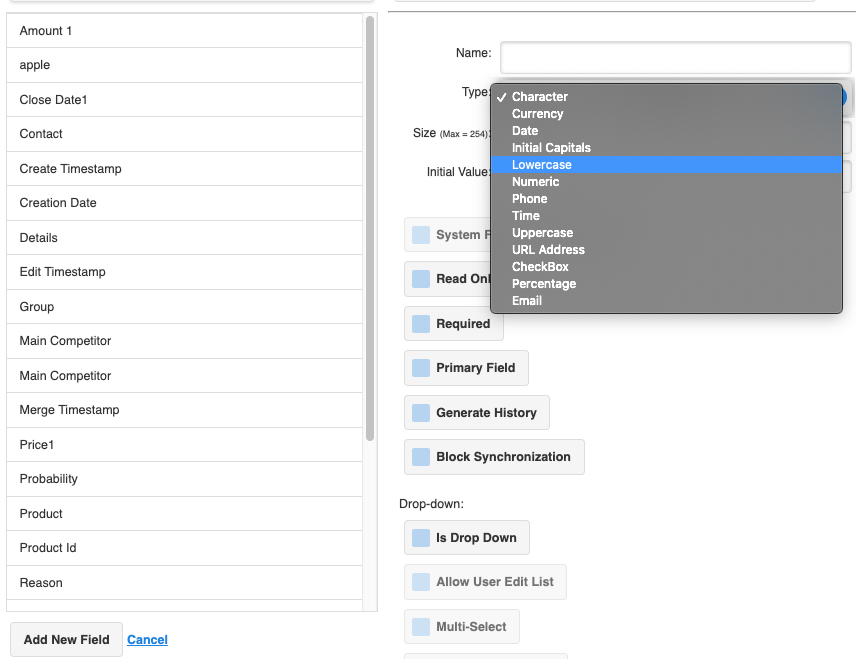
- Specify the size of the Field
- To have the field show in the Quick Search Bar, select the “Primary field” option
- For Drop Down Lists please see: How to add a new Item to a Drop Down List in SalesNexus
- Click Save
*To use your new Field add it to any corresponding Layout in SalesNexus as shown in Step 2 below.
NOTE: Any field, even custom fields, can be listed in the Quick Search if the “Primary field” option is checked. For more information on Quick Search, see: How to use Quick Search
Step 2
Once you’ve added the field, now it’s time to add it to your Sales Opportunity Layout Page!
From the Menu Bar, Click “Create New Opportunity”, or “View Opportunities” to bring up an existing opportunity
Once you’ve created a new opportunity click “save” and then click edit layout. OR on an existing opportunity, go directly to “Edit Layout” on the Right Hand Layout
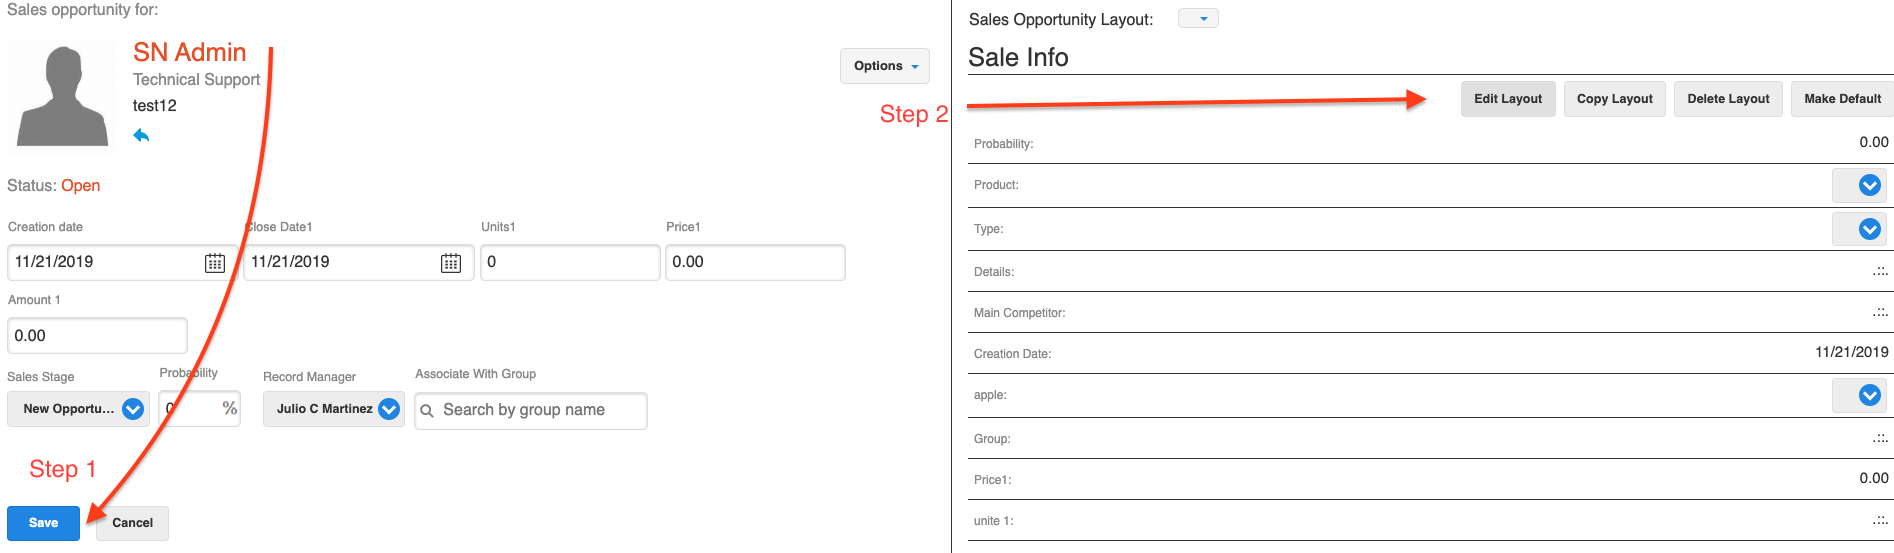
**Note: If the right hand layout is not immediately available, please click “save” to refresh the page.
Pick “Select Layout” and move the new field from the list of “Available Fields” to the list of “Fields to View” by selecting it, and clicking “>>” to complete the transfer.
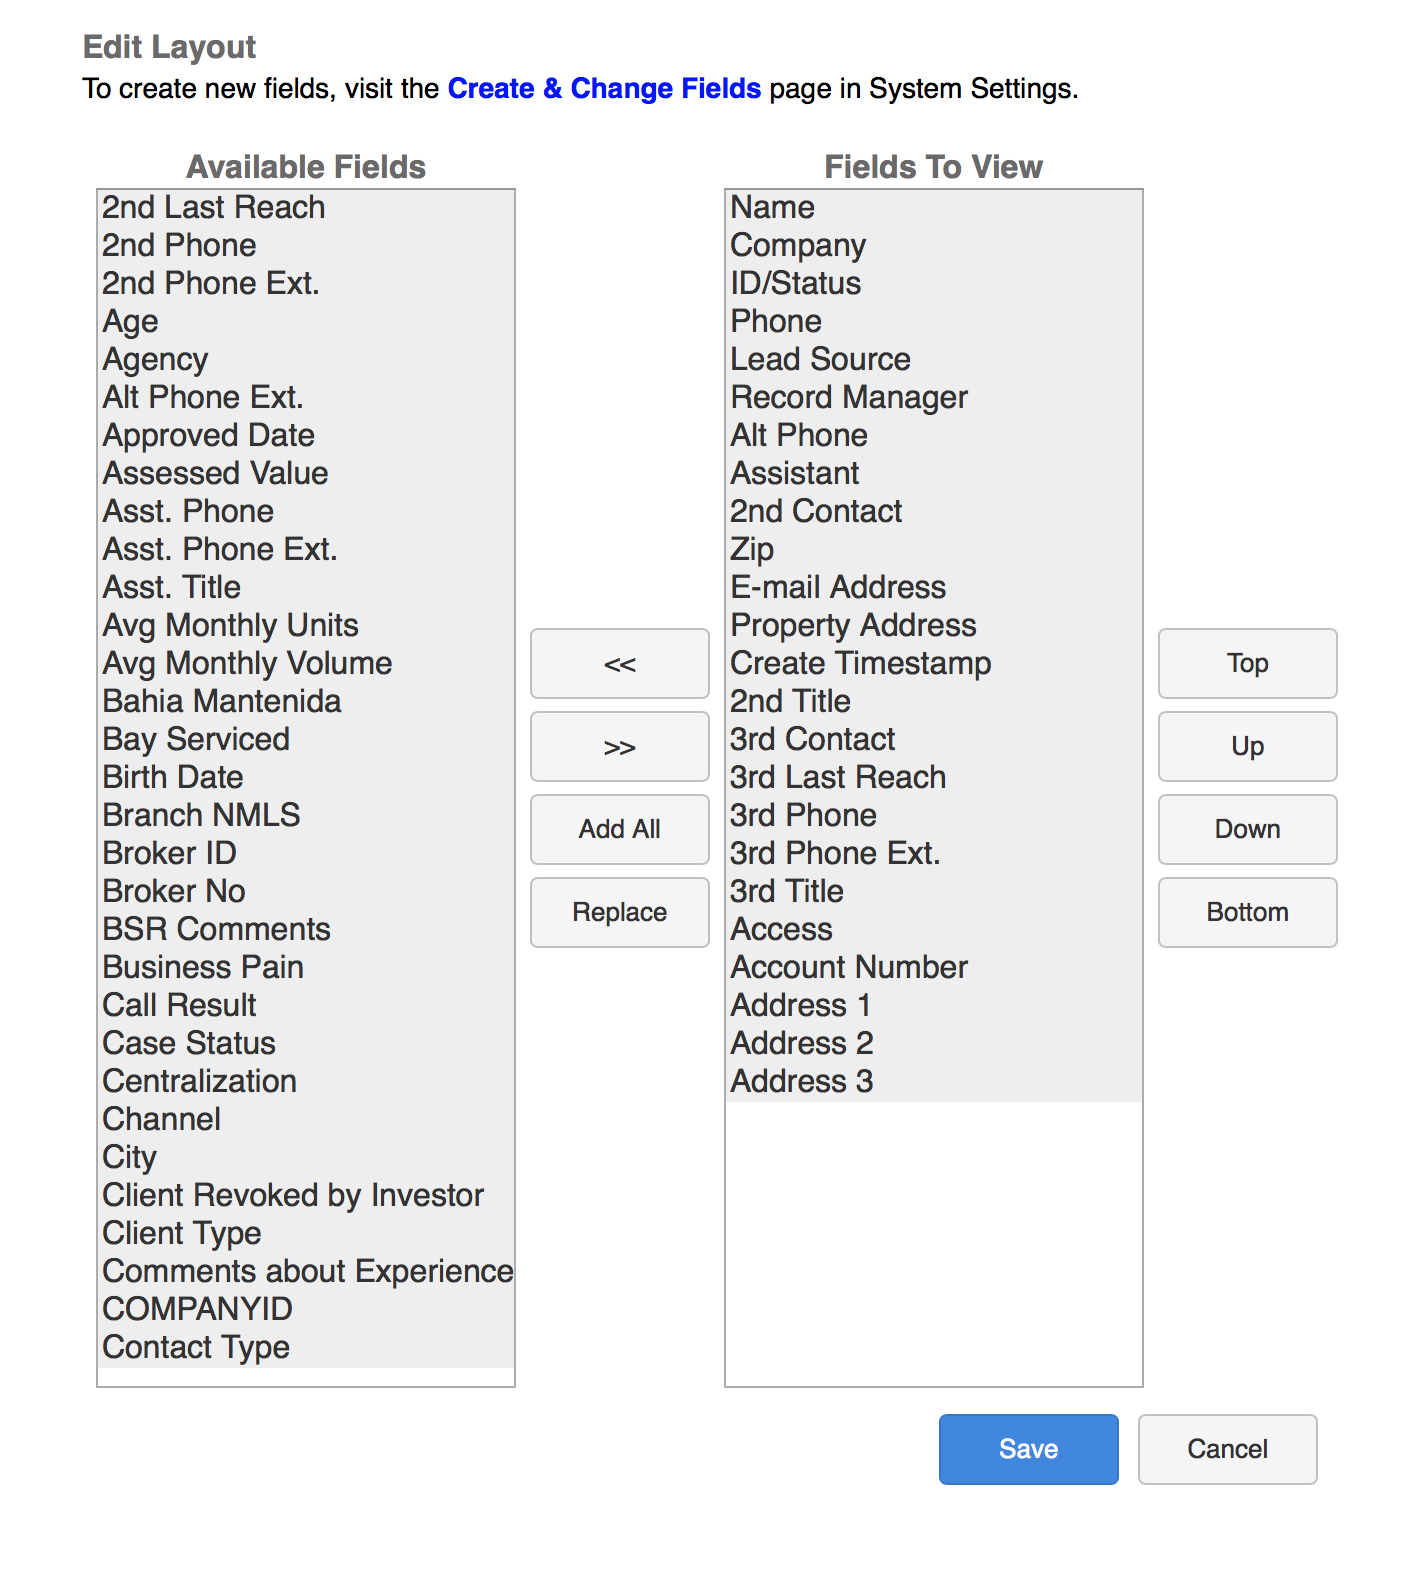
To finalize changes, click save.